Silksong Walkthrough: Progression Route, Checkpoints and Tips
A practical Silksong walkthrough for planning your next region, recording gates, preparing for encounters, and avoiding spoiler-heavy or unsafe APK shortcuts.
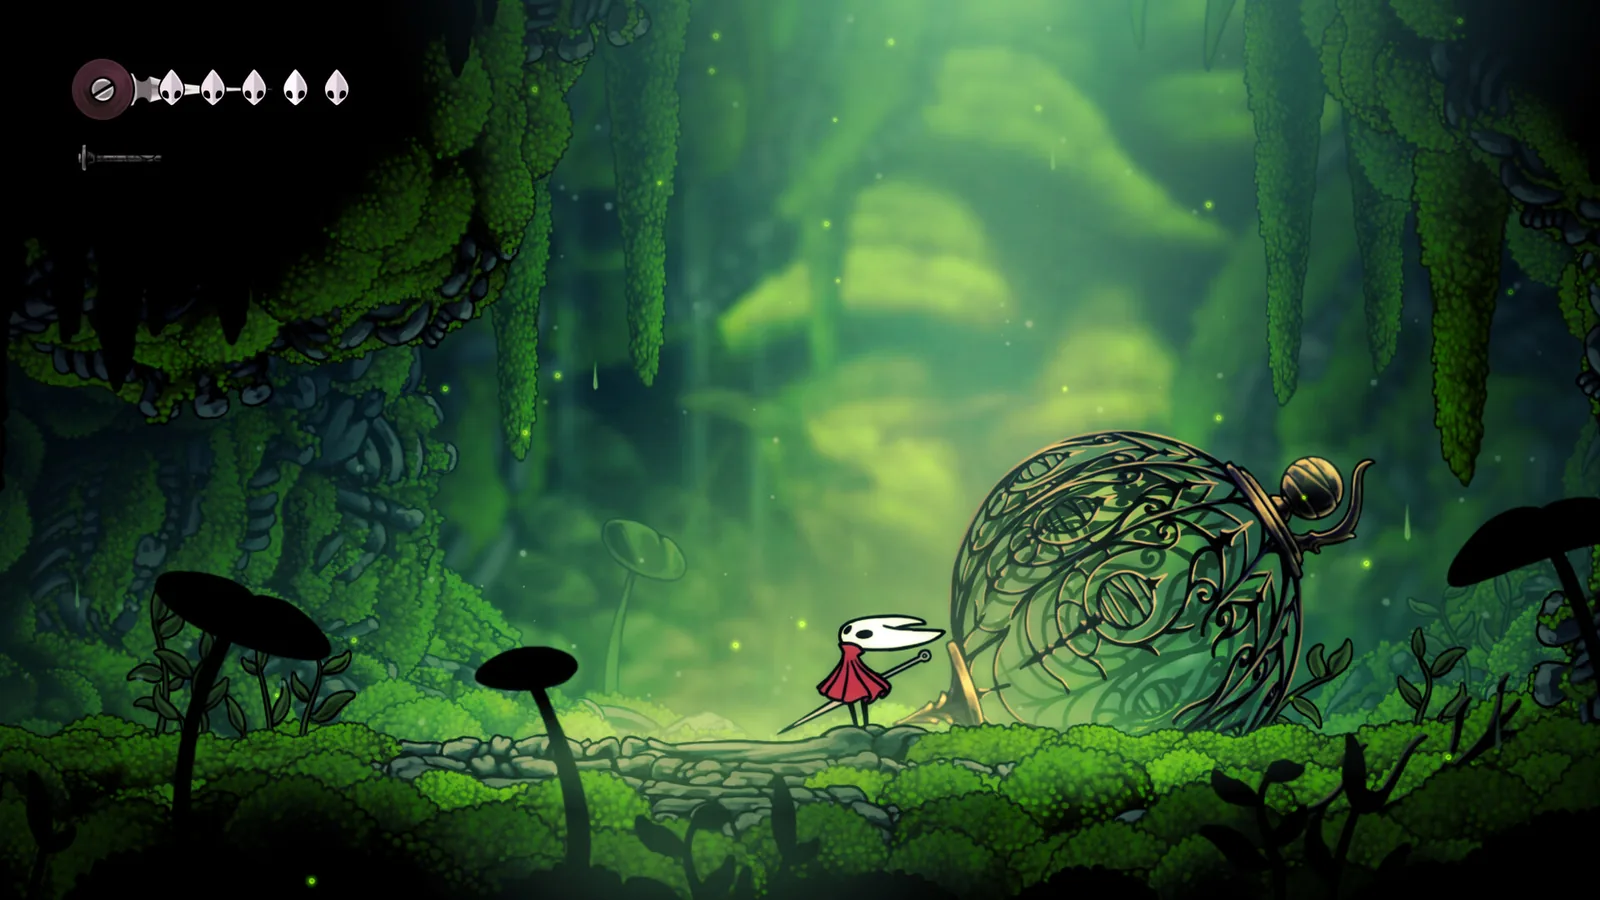
Source and update note
Official platform context was checked on October 12, 2026. This guide explains route planning and verification habits; it does not claim a latest patch, an official Android APK, or a universal room-by-room order. Current in-game dialogue, map markers, and store pages remain the authority when a patch or translation changes a detail.
In this walkthrough
How to use this Silksong walkthrough
Most people searching for a Silksong walkthrough want a next step, not a transcript of every screen. A useful route guide therefore answers three questions at each stop: what is the current objective, which gate blocks the next branch, and what should be recorded before moving on? This approach keeps exploration flexible while still giving you a dependable progression guide for a first playthrough.
The route rule
Do not ask a guide for the next room until you have written down the last confirmed objective, the new ability or key item, and the return point that changed.
Silksong progression route and checkpoints
A progression walkthrough works best as a sequence of verified states. Use the stage names as planning labels, then follow the objective shown by your game rather than forcing a community list to match a different save.
| Stage | Main goal | Checkpoint to record | Specialist help |
|---|---|---|---|
| Opening movement | Learn movement, attack, healing, and the first safe rest pattern. | Write the first region, bench or bellway, and any tool prompt. | Controls guide |
| First route split | Test exits and identify which branch needs a movement or tool gate. | Mark the locked path and the nearest return shortcut. | Map guide |
| Tool economy | Choose a small loadout that supports exploration and the next encounter. | Record slots, refill rules, materials, and the last bench. | Tools guide |
| Boss or rival gate | Prepare, learn the arena, and confirm what opens after the fight. | Save the result, reward, dialogue change, and new route. | Bosses guide |
| Act transition | Finish outstanding errands before a one-way story change. | Note the act, unresolved quests, and backup save date. | Act 3 guide |
| Ending preparation | Separate optional completion work from the route that advances the story. | Keep a dated save before a choice that sounds final. | Endings guide |
The table is a planning scaffold, not an official level order. Names, translations, and triggers can change with updates or platform versions, so record what your current game actually shows.
What to prepare before leaving a region
Before chasing the next marker, pause at a safe rest point and make a short state snapshot. Write the region, currency or materials that matter, current crest or build, available tools, and any character request still open. This takes less than a minute and prevents the common walkthrough mistake of arriving at a gate without the item, slot, movement option, or return route that the next step assumes.
Five-minute readiness checklist
- Objective: Can you state the current task in one sentence without relying on a screenshot?
- Route: Do you know the last safe rest point and at least one shortcut back?
- Gate: Is the next branch blocked by a tool, crest, movement, boss, item, or dialogue state?
- Loadout: Does the chosen crest and tool set match the room type rather than a generic tier list?
A region-to-region route method
When a walkthrough sends you into a new area, enter with one question rather than a full collectible list. Look for the first rest point, the first obvious locked exit, and the local clue that explains what the area is asking you to learn. Open branches only after you know how to return. This method makes an unfamiliar region readable and keeps backtracking deliberate instead of random.
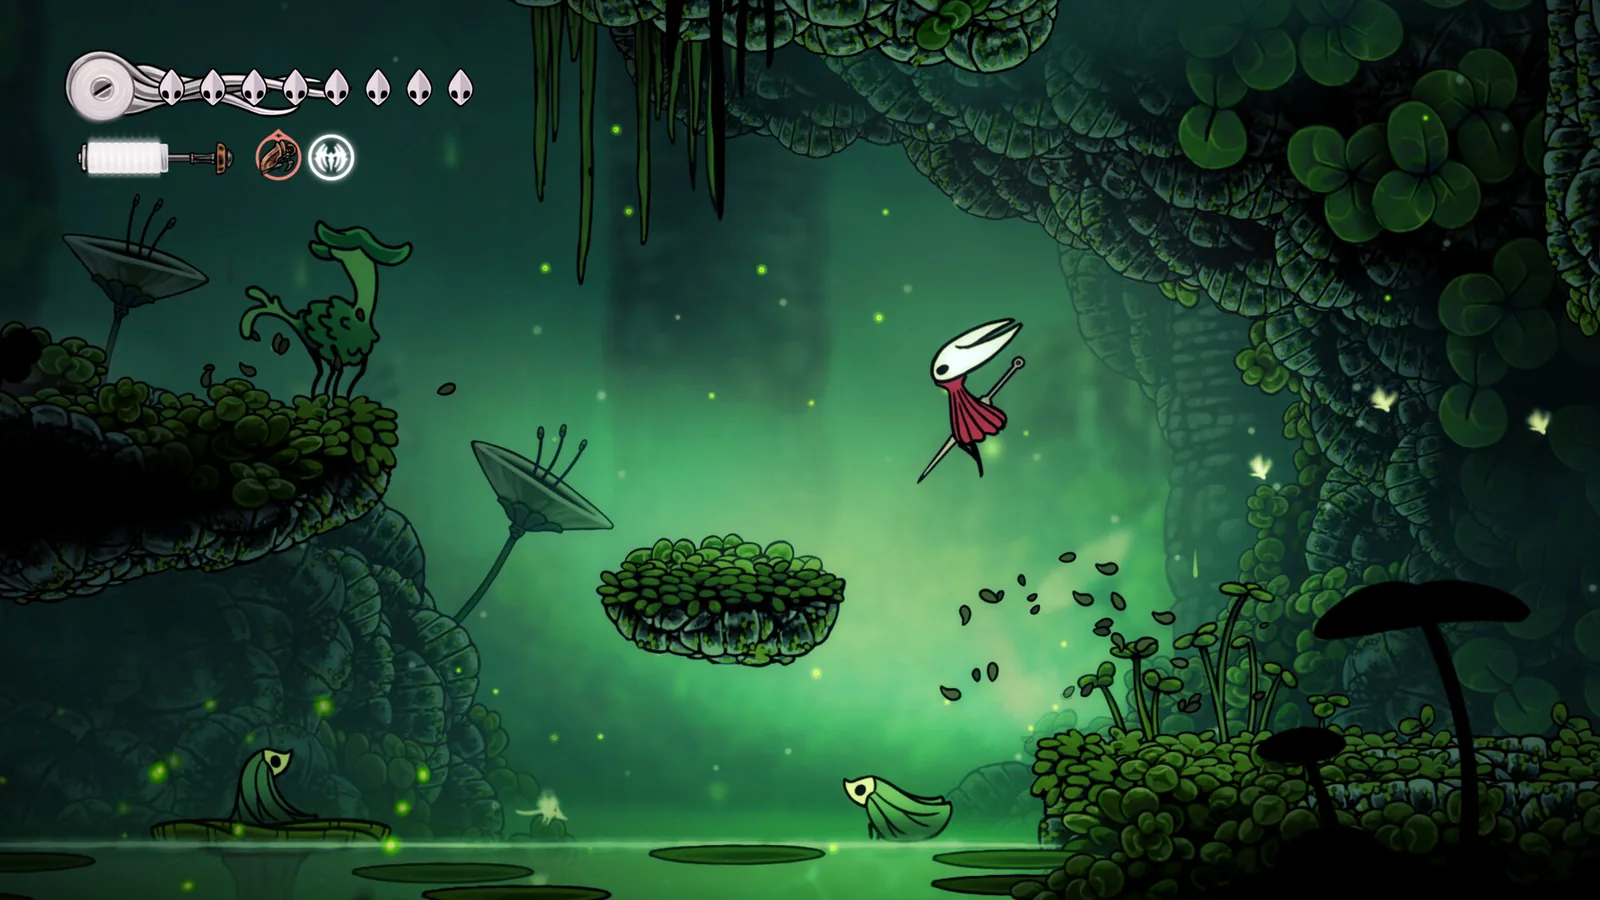
Use this loop in every new area
- Arrive: Find a safe pause point and record the region name, exits, and current objective.
- Read: Check signs, dialogue, map clues, and nearby objects before searching for a spoiler-heavy solution.
- Test: Try the lowest-risk branch first and note the exact gate when the route stops.
- Unlock: Return after a new tool, crest, movement option, or boss result and test the marked branch again.
- Close: Finish the local errand or mark it clearly as open before moving to the next objective.
Bosses, quests, and story gates
A walkthrough should tell you when to prepare without turning every encounter into a build prescription. For a boss, learn the arena shape, the safest healing window, and the tool or crest choice that solves your own mistake. For a character quest, record the request and return condition. For a story gate, identify the event that changes dialogue or opens a route. These are different tasks even when they happen in the same region.
| Gate type | Before the gate | After the gate |
|---|---|---|
| Boss | Rest, check healing and tools, and keep a route back to the arena. | Record reward, dialogue, shortcut, and whether another branch is now open. |
| Quest | Write the request, item, region, and wording that starts the chain. | Return after the milestone and compare dialogue or inventory before moving on. |
| Movement | Mark the unreachable ledge or passage and the nearest alternate exit. | Revisit with the new movement option; do not assume every high ledge is mandatory. |
| Tool | Check slots, materials, refill rules, and the tool's actual purpose. | Test the tool in a safe room, then revisit the route that it specifically changes. |
| Act | Finish time-sensitive errands and make a dated backup. | Recheck dialogue, map markers, and unresolved tasks in the new act. |
Backtracking without losing time
Backtracking is part of a metroidvania route, but aimless travel is avoidable. Give every return trip a purpose: open one marked gate, deliver one request, test one new tool, or confirm one changed conversation. If the trip has no testable purpose, leave a note and continue the main route until a new clue tells you when to return.
- One return, one test: Choose the exact gate or dialogue change you are checking before leaving the bench.
- Use shortcuts: Open safe loops and bellway connections before chasing distant collectibles.
- Batch errands: Combine a delivery, vendor visit, and map mark when they share a route.
- Keep uncertainty visible: Label community tips as unconfirmed until the current game shows the result.
- Stop after proof: Once the gate opens or the dialogue changes, update the log and return to the main objective.
Completion, spoilers, and the final route
A full walkthrough is not the same as a 100% checklist. The safest first run usually follows the main objective, keeps optional requests visible, and delays deep collectible sweeps until movement and map tools make them efficient. When you want every achievement or ending, create a separate completion plan so optional work does not obscure the next story gate.
Before calling the run complete
- Main objectives are recorded with a confirmed result, not just a guessed route.
- Optional character requests have a status: open, completed, or deliberately deferred.
- Boss rewards, tool unlocks, crest upgrades, and map changes are written beside the right region.
- A dated backup exists before any branch that can affect an ending or a long quest chain.
Official sources and Silksong APK safety
A walkthrough search can lead to pages that promise an unlocked save, a free APK, or a shortcut around a boss. Those claims are outside the purpose of a route guide. An APK mirror can copy a map screenshot and invent a version label without proving that the package is official, current, or safe. Keep the game route and the download decision separate.
- Source: Prefer Team Cherry, a recognized store, or a maintained reference with a clear update date.
- Version: Do not call a file or route latest when the page cannot show a trustworthy release source.
- Package: An APK package name, screenshot, or download counter is not proof of authenticity.
- Account: Do not share store credentials or save files with a mirror that asks for unrelated access.
For platform context, start with the official Silksong site and compare it with the official Steam listing.
Silksong Walkthrough FAQ
Sources and update context
These sources support platform and ownership context. They do not replace in-game evidence for a quest trigger or room order.
- Team Cherry: Hollow Knight: Silksong — Developer source for official game identity and platform context.
- Steam: Hollow Knight: Silksong — Recognized store listing for the PC ownership route.
Checked October 12, 2026. Official pages support platform context; verify route details in the current game and keep patch-sensitive claims qualified.
Continue with specialist Silksong guides
A walkthrough that stays useful
The strongest Silksong walkthrough is a living route log: confirm the objective, mark the gate, prepare for the next encounter, and keep optional work separate from irreversible story choices. Use the specialist guides for maps, bosses, tools, Act 3, endings, and saves, and use official sources for platform and download context.